


When it comes to renovating, there are so many areas where I’m unsure. I’ve never done electrical work like replacing plugs and light switches, so even though those dated almond coloured switches are throughout my house and the cost to replace them would be tiny, I’ve shied away from tackling it. The same goes for plumbing, drywall, the list goes on. I know that I’ll learn these skills eventually, but right now they intimidate me.
So when a project comes along that is in my wheelhouse, I jump on it. This was the case with the backyard. When I did my very first walkthrough of the backyard, I saw the potential for this space, even though it had been left to grow unchecked for the past five years. As a result, it was intensely overgrown, the grass had mostly disappeared under the weeds, and the deck did not add much functionality to the space. Here are some before pictures from the original listing:


Scary, right?
I spent most of the first summer perched on the steps (the only way into the yard), too scared to walk out there in my bare feet lest I step on the rusty debris left by the previous owner.
I had a vision though, of soft green grass, an open concept deck, and garden beds lining the fence.
Fortunately, my (now ex)husband used to be a landscaper, so while there are so many projects in the house that require meticulous research and careful execution, this one I jumped into already feeling confident and comfortable.
Soil, Sod, and Mulch
I started this project way back in March, and the first task was pulling up the excess, overgrown plants, which took weeks of working at it whenever I had a spare hour. After that, I raked out beds to help level the yard. Finally, in a moment of recklessness, I demoed the rotten deck railing that cut the patio off from the rest of the backyard. All of this work resulted in a more or less blank canvas.

Once that was complete, I ordered three yards of topsoil to provide a base for the sod. When laying sod, it’s important to have at least a few inches of fresh soil for the sod to root. I ordered the topsoil from the local landscaping supply company and paid extra for delivery by truck. From there I had to wheelbarrow it into the backyard and spread it, which took an afternoon.

Finally, I settled on where the gardens should go, added more soil in those areas, replanted many of the plants, and ordered sod to create the outline of the beds and create the backyard of my dreams.
Sodding took three whole afternoons of laying out the grass, cutting the edges to create an outline around the garden beds, and watering, watering, watering. It took a few hours in the evenings to lay a whole Subaru full of sod, and it took three loads to complete the yard. At the end of two weeks of watering, I had some pretty gorgeous green grass where there had previously been a mess of weeds.
Once the sod was down and rooted enough to walk on, I loaded up the Subaru with bagged mulch (on sale half off!) and added it to the garden beds and the freshly blooming plants. While there were plenty of overgrown plants in the gardens that I was able to save, I also dug up and got rid of many rose bushes and hostas.
To replace those plants I brought new ones in, though I didn’t pay for them. Instead, I separated overgrown plants at my family and friend’s houses and brought them into the yard. In fact, the only plants I bought were two hops plants to vine up the pergola and two tomato plants for $3 each.

Post mulching relaxation.
Repairing the Deck
Once I finished the yard, I turned my attention to the patio. I mentioned above that I demoed the old, rotten railing off the main part of the deck. The intention with that was to open it up to the yard, but demolishing the railing left a bit of a drop-off that wasn’t kid safe. The existing deck boards were quite old and rotted, but the footings were in good shape and only needed slight modifications.
Fortunately, my brother-in-law had professional experience building decks and was able to help add a step down the deck wide enough to accommodate an extra row of seating. He also consulted on the required permits and lent his tools to finish the job, which was great because I have yet to obtain the all-important miter saw.
Finally, I capped everything off with two rows of string lights from Canadian tire (at 40% off) and a moveable fire pit (60% off).
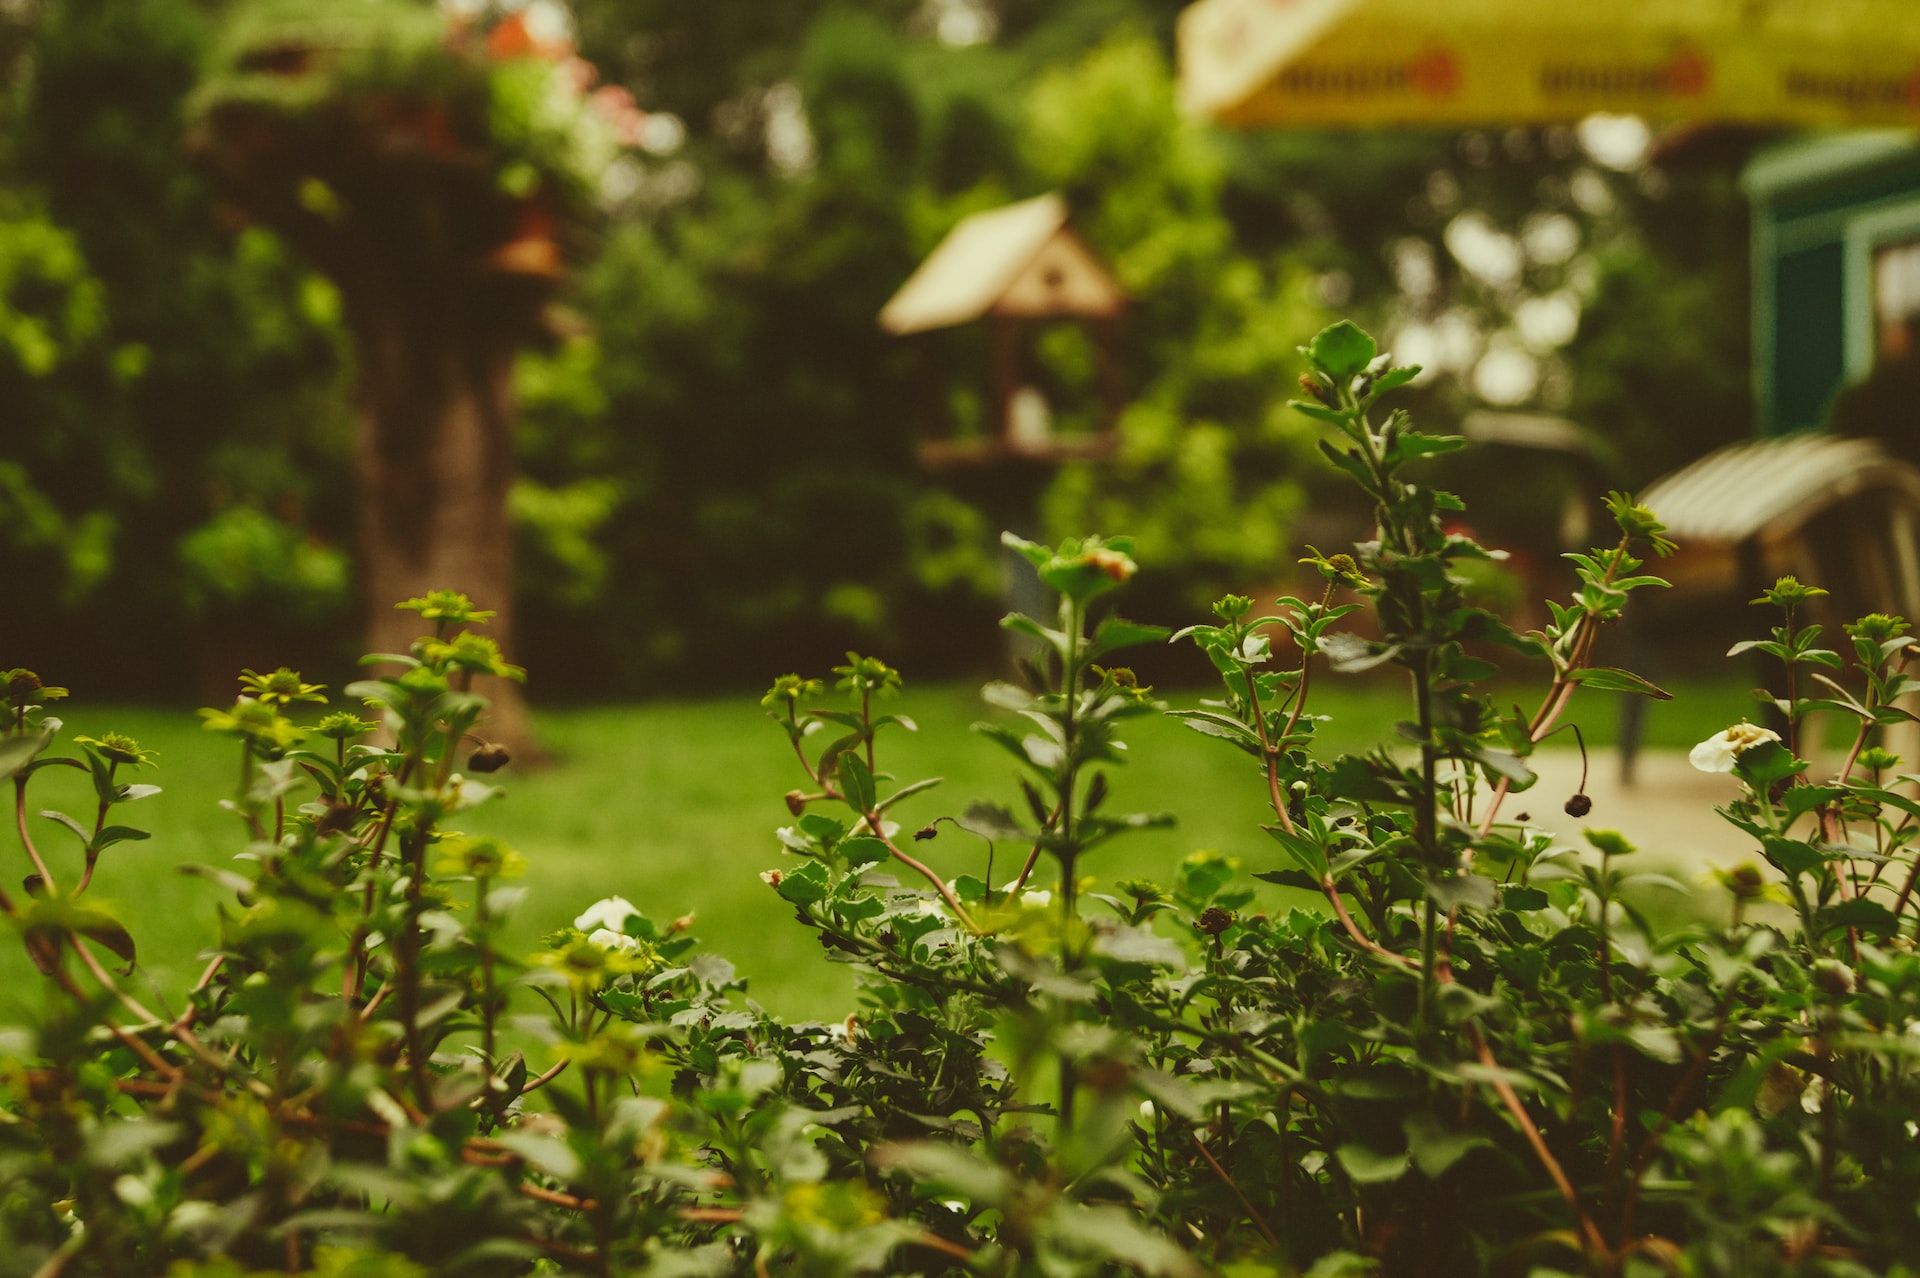
Here are the final results of a spring time of toiling:


Backyard Renovation Cost Breakdown
This project wasn’t free, but it wasn’t all that expensive either. I wanted to spend around $1,000 on this project, and I kept pretty meticulous records of how much I spent. Here’s how it all broke down:
- Soil and delivery fee: $186
- Gardening supplies (shovel, wheelbarrow, tarp, rake, trowel, etc): $211
- Sod: $145
- Mulch: $95 (on sale)
- Fire pit: $75 (on sale)
- String lights: $56 (on sale)
- Deck screws, boards, etc: $377
- Thank-you dinner to brother-in-law: $58
- Total: $1,203
Altogether I spent $1,203 and about 30 hours of labour to turn the backyard from a weed infested, garbage strewn place that I didn’t dare walk in with bare feet to a green oasis that is enjoyable all day long. It was totally and completely worth the effort, and incredibly satisfying to see a space with so much potential come into its own.
Future Backyard Plans
Of course, you’ll notice that I didn’t transform every last square foot of the backyard. The left side gardens did not get any attention because I wanted to keep costs down to around $1,000. Next spring I’ll pull all of the weeds out of that bed and add some soil and mulch, and that should only cost a few dollars. Over the long term, I’m planning to remove/relocate that shed, build raised beds, build deck furniture and lay a flagstone pathway, but this is a solid start!

Fabulous job!
Thanks!
Looks awesome. It really doesn’t take much to transform the outdoors as long as you are willing to put in the work.
Agreed! As long as no major digging is required, it just takes time and effort. I also like that it’s less precise than indoor finish work (well, except for the deck).
Wow! Looks so great! Love the little video too! 🙂
Oh good! I kind of regretted the vertical iPhone video but it’s better than no video at all!
We eventually want to replace our ancient deck as well! But probably in another year or two. Thanks for sharing!
The rest of our deck will need to be replaced eventually, but it’s not in the budget right now. 🙂
You new backyard looks lovely!
Thanks!