


When my house down payment fund ticked over the $25,000 mark and I started casually house hunting, one of the first things I did was make a list of must-have features and nice-to-have features. My must-have features included obvious things like a second bedroom, a backyard, and a parking space. My nice-to-have list was much longer but included harder to find features like a finished basement, a fireplace, and mature gardens. The house I ended up choosing ticked many boxes on my must-have and nice-to-have list and the one I was most excited about was the fireplace.

Photo from original listing – I need to take better before photos!
While the home inspector warned me that “this was not a functioning fireplace” I was still pumped that this house came with a place to eventually put a fireplace insert, and in the meantime, I wanted to make it as beautiful as possible. When I moved in everything in this house was covered with many layers of paint, and the fireplace was no exception. I knew that returning the fireplace back to its original brick would add some much-needed warmth and character to our dining room, but how to go about it? After spending hours on Google, I concluded that removing paint from the fireplace was indeed possible.
Here’s how I restored this fireplace to its original beauty for just $300.
Tools for My Fireplace Refresh
Determining my course of action for removing the paint from my fireplace took hours of online research. There are a ton of different methods, and everyone and their mother have an opinion on the best method (including one hardware store employee who insisted it simply couldn’t be done). There were a few factors influenced how I would go about tackling this project:
- The possible presence of lead paint indoors meant sand blasting was out of the question.
- I needed to be able to do it myself relatively inexpensively, as I had no money in the budget to hire this project out.
Eventually, I settled on using a non-chemical stripper for the job, which led me to the following materials list. (Some of the links below are affiliate links).
- Lead paint test kit
- Power drill (owned)
- Wire cup brush
- 5-in-1 painter’s tool
- Putty knife
- Wire brushes
- Cheap paint brushes
- Super fine steel wool
- Gloves
- Mask
- Plastic sheeting
- SoyGel
The real workhorse of this materials list was the SoyGel, which I bought off Amazon for $117. SoyGel is a paint and poly remover that is non-toxic, non-corrosive, 100% biodegradable and has no known health hazards. While those attributes might lead you to conclude this stripper is weak, let me assure you – it is not. That stuff will eat through any paint or poly in its path, including the paint on the baseboards I accidentally spattered it on, and the poly on my table where I spilled a few drops. It even ate the varnish off my iPhone case when I used my phone after getting a little stripper on my fingers.
SoyGel had better reviews than Citristrip and Peel Away for my specific application (brick) which is why I chose it over those other options. It was also the easiest to procure here in Canada, and it is known to be a good way to remove lead paint.
Prepping the Surface
The first thing I do whenever I’m getting ready to disturb painted surfaces in this house is test it for lead paint. Over the past few months, I’ve come to recognize that anything that was once painted baby blue will test positive for lead paint. I saw a tiny bit of baby blue peeking out from under the white paint on the mantle, so I opted to test the mantle and the brick separately.
The painted brick came back negative for lead, but the mantle tested positive. That was one of the key reasons I chose SoyGel: the gel encapsulates the lead paint and keeps the particles from becoming airborne where they can be harmful.
Once I knew there was lead on the mantle, I suited up in full protective gear (mask, gloves) and brushed the SoyGel onto the mantle with a cheap paint brush. After about 20 minutes, the first layer of paint gooped right off like butter. I used the putty knife to scrape the peeled paint into a garbage bag and disposed of it according to my municipality’s regulations (check yours if you plan to attempt to remove lead paint yourself). It took two rounds of stripping, here’s how it looked after round one:

The unpainted brick had been covered by the old brass fireplace surround.
It took another round to remove the stain underneath the paint.
Strip Paint From Brick Fireplace
The mantle was such a piece of cake that I felt confident that the brick would also go smoothly. Oh, how naive I was. It took several rounds of trial and error before I found a system that works, but here’s what I settled on:
First, I brushed on a thick layer of SoyGel and let it sit. I experimented with a few different durations, and around an hour seemed to be the sweet spot that let the stripper do its thing without drying out.
Once the paint was all bubbly, I slowly scraped it off with the 5-in-1 tool and putty knife. Since this paint was newer and lead-free, and the SoyGel is noncorrosive and had no fumes, I didn’t need to wear gloves or a mask for this part. Once I had scraped off the top layer of paint from the first third of the fireplace, it looked like this:

Not exactly where I wanted to be. Fortunately, there are more steps involved here. The next step was to take the wire cup attachment I’d purchased for my drill, and use that to lift the remaining paint from the brick. I also used a wire bristled brush for hard to reach places. This made the paint and gel form a gooey, gross paste, which I wiped off first with super-fine steel wool and water (use gloves for this part!) and then a wet rag. Here’s a picture showing the difference between painted brick, scraped brick, and wire-brushed/steel wooled/wet ragged brick:

Finally, I was left with this after my first go and six hours of work:

Please excuse the late-night blurry iPhone photo
I proceeded to apply the same technique to the rest of the fireplace. Incidentally, Soygel also made a very good stripper for the decades of soot that had built up behind the old brass fireplace surround. Here’s how it looked after round one:

After the first round of stripping, which took my whole weekend and the better part of my evenings one week, I took a break before going in for round two. Round two went much, much easier simply because most of the paint had already been removed. I mostly skipped the putty knife part and went straight to wire brush and steel wool. It also took less time, about three hours per third of fireplace instead of six.
Mantle Stain, Poly, and Caulk
At this point the mantle was looking like this:

While I like the raw wood look, the mantle was giving off some serious old-wood vibes and making my house smell like an old church. So I patched the old nail holes and gouges with wood putty, and after making absolutely sure all of the lead paint was gone, I donned my mask and used a borrowed sander to smooth up the surface before staining.

I used my leftover supplies from my mid-century modern entertainment center to stain the mantle. I hit it first with a coat of Minwax Special Walnut stain, which immediately turned the mantle much darker and redder than I hoped. I blame it on the fact that the wood on the mantle had a distinct orange-y colour. After letting it cure for a day or two it had settled to a deep red-brown that wasn’t so bad, so I brushed on three coats of satin water-based poly over the next few days and called it done.
There was one final step in making the mantle beautiful: caulking. All of that paint stripping had left the caulk in terrible shape:

Gross.
So I scraped and tried to remove as much as possible before using painters tape to create a clean outline for the new caulk. I’ve never caulked before so the painter’s tape also reduced the possibility of me making a giant mess. Fortunately, it was super easy and I used regular paintable trim caulk that the previous owner had left behind. The trick with using painter’s tape to get a clean caulk line is to remove the tape before the caulk has fully dried, otherwise, you risk pulling it up with the tape. Of course, caulking meant I now had a line of white on my mantle, but I used paint to address that.
Painting the Accent Wall
When I painted over the puke yellow in the front rooms of this house with a cozy gray, I knew that the wall above the fireplace was just begging to be an accent wall. I thought a dark green or blue would be perfect in that space, so I set out for some samples.

The samples weren’t cheap and set me back about $40. But it was totally worth it since nothing beats getting paint on your wall and letting it interact with your unique lighting and nearby elements. Since the home’s old floors are very light yellow and the brick is so red, I was concerned about some of the paint colours looking too green. In the end, we chose Kwal’s Crave colour matched at Sherwin Williams. Fortunately, the sample can was more than enough for this tiny space.
I used painter’s tape along the edges to get a super straight line and I also ran painter’s tape along the caulk on the mantle and painted right over it to hide that bright white line.

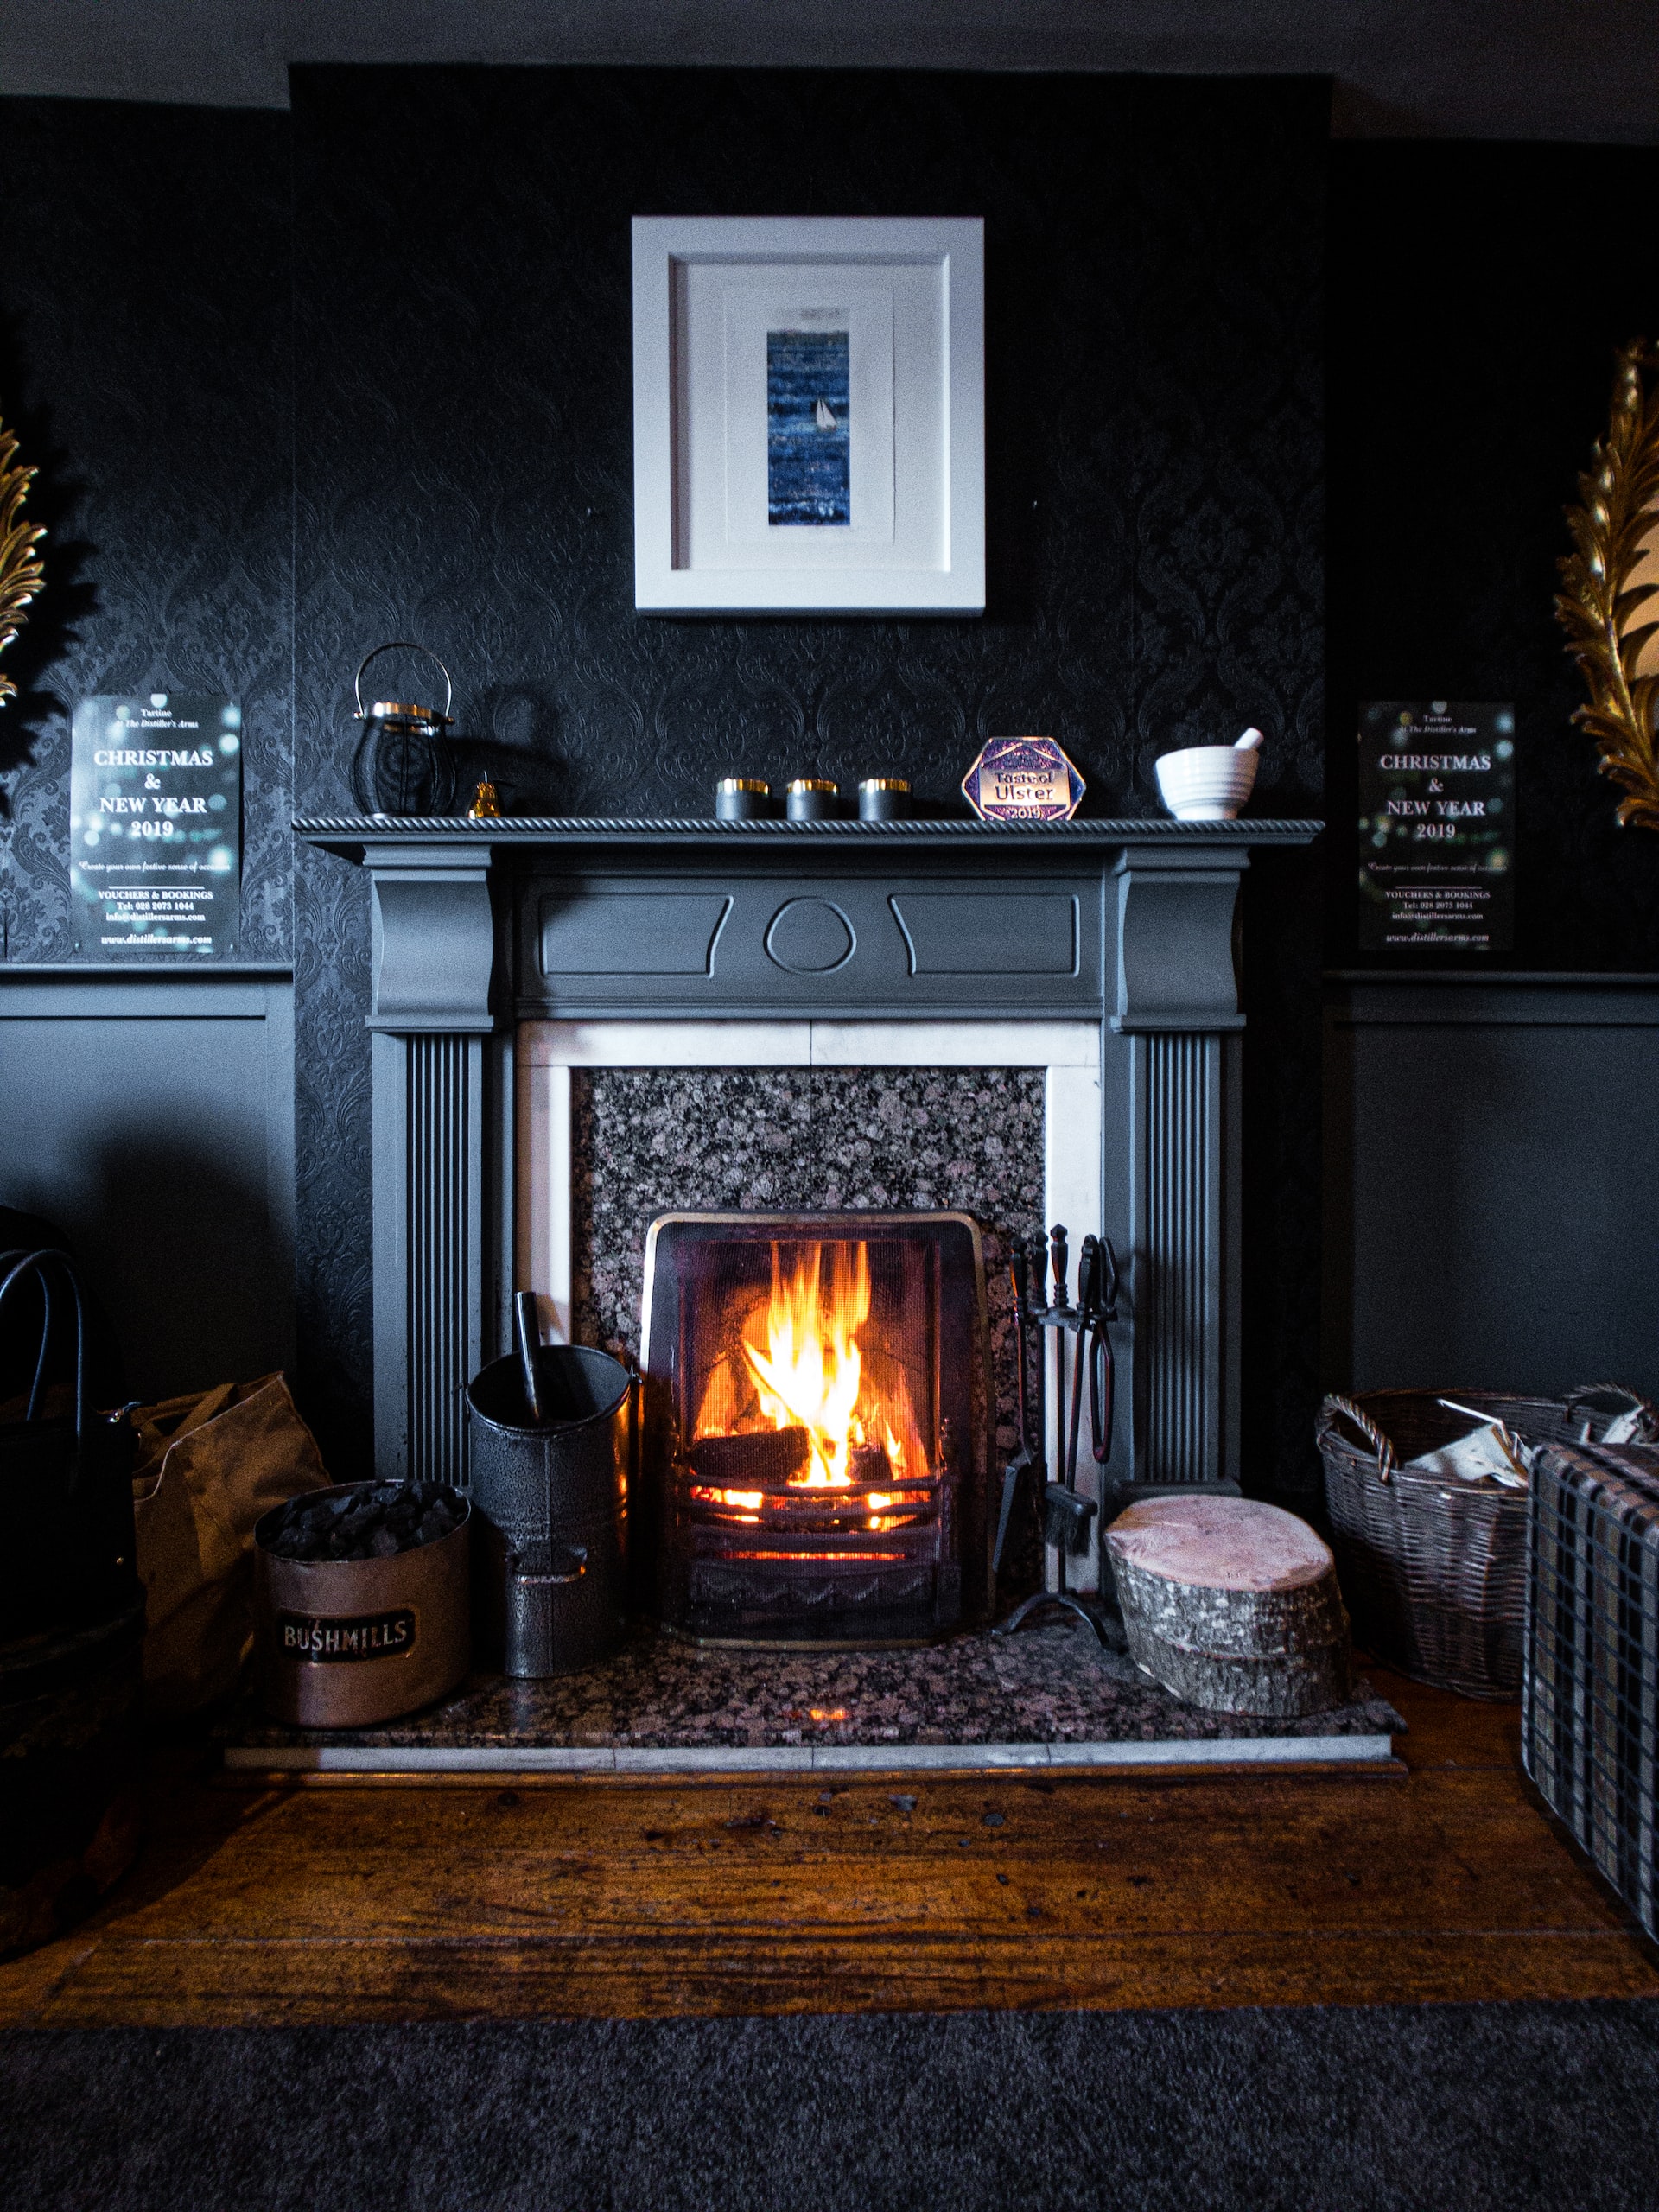
Not bad! Once I added some accessories, touched up the wall paint and hung a vintage Indiana Jones print, it looked like this:


And there’s a shot of how the wood patching/sanding caulking turned out on the mantle. The wood filler did not take the stain the same way as the rest of the wood, but it’s only really noticeable on a seam I had to fill in.

Overall this project only cost us $300 for all of the supplies. The SoyGel was the most expensive item by far, and I’m happy to report that over half of the jug remains, which means I have a paint stripping date with my original-to-the-home doors soon. I also have leftover plastic sheeting and lead tests, and now I officially have a wire cup brush, a mask, and gloves.
One more before and after:


Eventually, the plan is to put slate over the stained concrete hearth (that is no longer to code anyway) and add a wood burning inset. But that’s a $3,000 job at minimum so I’ll have to be content with my cheap electric faux fire for now.
Tips If You Plan to Strip Paint Off Brick Fireplace
- Just use SoyGel, it worked, amazingly well, and not having to use gloves or a mask for this 27+ hour project was amazing.
- Use a lot of gel per brick. There should be a thick layer of gel on each brick.
- Experiment with the set time for the gel. I found an hour worked best but I only had one layer of paint to deal with.
- Be prepared to spend a lot of time scraping and scrubbing. You can’t rush this so queue up some Netflix to listen to while you work and crack a beer or three while you’re at it.

It looks so good! I haven’t really tackled any major indoor DIY projects. I stick to killing plants outside… But you make it look so good, maybe I should try doing something myself… We were thinking of updating our fireplace surround… Hmm…
Job well done! Thanks for sharing the photos and your step by step process.
How much soygel did you use for this project?
Hi Mary,
I used less than a third of the container in the picture. I’ve since used it to strip a door, and I still have over a third of a container left.
Can you give me the exact name and brand of the Soy Gel? When I look at Amazon there is a number of items, but none just labeled soy gel… thank you so much.
Meg
Hey there! I had this same question and think I finally figured it out.
Looks like Soy Gel is now rebranded as Blue Bear 600 GL.
Reference: https://www.norkan.com/soy-gel.php
Thanks Julian,,,,just saw your reply….:) Meg
My name is Meg and I left the above message…can you address that? Thank you.
This is so helpful! My boyfriend and I started stripping our fireplace a few months back, but he’s become quite frustrated. It had at least 3 layers of paint on it. We’re down the final layer, but are worried the wire brush is actually burning itself into the brick and staining it. Did you experience anything like this? We weren’t immediately wiping it down, so perhaps that’s our issue. He really wants to sandblast the remaining layer off (nut shells instead, not nearly as harsh) but I don’t love that idea.
Any thoughts?
Hi Stephanie,
I didn’t find that the wire brush did that at all, but I went at it pretty gently. Just remember that bricks are porous and getting every last fleck of paint out of those pits is next to impossible.
Hi Jordann, I am not sure you are still following the thread but have a question about applying the SoyGel to the walls. What is the easiest method you found to do this? I have been using a brush and find it is taking a long time and not sure it’s think enough? Any tricks?
Thanks so much for posting this! I was convinced that once brick was painted that you could never get it back. Great tip on the Soy Gel as well. I was worried about using super stinky chemicals inside my house. I’m so jazzed about tackling my own fireplace!
This looks amazing! I’m just about to embark on the exact same task, so this was very helpful. I am however, having difficulty sourcing out anyone that carries SoyGel. Where did you buy yours? I’m in Ottawa.
Thanks.
Hi Robert,
I was having the same issue. Looks like Soy Gel is now rebranded as Blue Bear 600 GL.
Reference: https://www.norkan.com/soy-gel.php
Hi there!
My house was built in 1928 and I cannot wait to get the layers of paint off the beautiful boarder of my fireplace! Do you feel as though painter’s tape was good enough to protect the surrounding area from getting the paint stripper on? I don’t want to strip off the paint/dry wall! lol
Thx!
Thank you so much! Very easy to follow instructions, I’m removing paint from my cobblestone fireplace. Did you need to add anything to the brick after? Or does stone do well alone without a finishing oil or wax?
Thank you
For the price you spent, I’ve probably spent more in the last year. I’m still not done and I have the wire brush bricks. So the mini grooves are still holding on to the paint. There is probably more than 4 coats. Just wanted to let your readers understand that your product must be better than the three I’ve used and time.